But please be aware, if something goes wrong when implementing any of these tips on your own blog, do not come running to me fix it or hold me accountable! Always use precaution and save your template before you try to edit it! :)

Simple text changes in your posts
You may or may not have noticed that some blogs have funky colours or sizes for when they make words italic, bold, underscored, or
The easiest way to show you how to do this is, is with an image. Tadahhhh!

Now of course, you MUST make sure when posting a new post you are set to "Edit Html" and not "Compose" or this wont work. Also, you must have this highlighted part of the code tucked into the backend of your design, HTML. If you have purchased one of my pre-made designs, this snippet of code is already in your template and you do not need to insert this!

You can grab the code here;
Make sure it is at the top of your HTML, after your blog title and before this part;

You can change the colours to anything you would like changing this part; #76bbaf
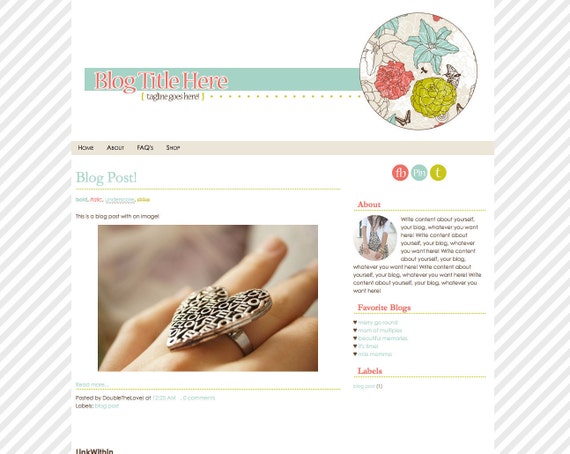
Making a funky sidebar image!
I adore photoshop! But I am also very lucky to have a graphic/web designer hubster whose business purchased the program... if you are on a budget, try picmonkey.com. You can collage your images, or put wording across them. You can also edit it with like you would with photoshop or instagram to make it cleaner or have a special effect!
This is what my image looked like when I first started;


How to add a google font to your blog
This one is a little bit more tricky, but totally do-able.
First, search here for a font you like. Once you find one you like, click on Quick-use, and go to step #3, add this code to your website.
There should be 3 tabs, Standard, @import, and Javascript. You want @import. Click on @import and copy the code. The code will look similar to this, except with the font that you chose;
@import url(http://fonts.googleapis.com/css?family=Rye);
Go into your blogger account, go to "Design", "Edit Html". You want to paste this code near the top of your HTML.
Here is an image to give you an idea of where you need to stick it!

Go back to the google fonts website, you will need to grab one more piece of code to make your text show up!
Grab the code where it says; 4. Integrate the fonts into your CSS: It will look like this, but with the name of the font you chose instead; font-family: 'Rye', cursive;
Once you have the snippet of code copied, go back into your blogger account where you were just editing your HTML.
Now you can paste this code into your HTML, wherever you see a font-family: tag! This will change the font family for the specific part of your blog. It can change the post titles, sidebar titles, blog posts, everything! Just play with it a bit till you find what works best for you :)
How to make text wrap around your sidebar image
If you have a small little sidebar image, and you want to wrap text around it like in this blog;
Just use this code;
That is all I have for now, I def plan on adding to this list when I can think of other tips that might be useful for you! If you have any suggestions on tutorials and how-to's for updating the look of your own blog, let me know! I would love to know what you are dying to figure out to update your own blog :)

Thanks! I have bookmarked your post. This will cone in handy :)
ReplyDeletewww.dawnsdisaster.blogspot.com
Visit Anytime!
{All follows are followed back}
thanks for the tips. really good. web design bangalore
ReplyDeleteGreat tutorial/tip sheet :) I'll definitely pin this! I'm following you from Daydreaming Realist if you wanna follow back.
ReplyDeleteHave a great weekend!
This is really helpful! I want to give it a try. :) I'm your newest follower! Would love for you to stop by and say hello! ;)
ReplyDeletehttp://notesfromthenelsens.blogspot.com/
~Heather
Who said web designing is a headache? :) What I like about your tips is that they jack up the appearance of the website while keeping the flow very organized. Some make a mistake of putting too much design, which we all know can irk visitors (especially mobile users). Some focus on too much content, which can give visitors a bad impression. Web design takes a lot of balance in content and design.
ReplyDeleteBryan Douglas
Awesome tips! Designing a website is a daunting task, which is why many are afraid to do it. That’s why I’m thankful that you made this tutorial; you really made it look easy! This’ll help a lot of bloggers and website owners out there make their sites look fun, and in turn, increase the number of their visitors and maybe even generate some revenue.
ReplyDeleteStaci Burruel
The all tips of this post is really helpful to make a blogger as effective.Its really essential tips to people.
ReplyDeleteOutsourced Website Development
Left align your text, just do it...For best and cheap manual Seo services, Web designings. Must check Web Design Bangalore
ReplyDelete